Showing posts with label House. Show all posts

Sunday, January 19, 2014

Hallway light

 This is the light we can turn on and off from three places. We were looking for a cool sconce light for a while, but couldn't find a thing that grab our mind. So I decided to make it by myself.
この2階廊下の電気は三カ所から操作できる実は割と重要なライト。いいのがないかいろいろと探してみた物の、グッとくる物は見つからず。ようやく重い腰を上げて、自分で作ることにした。

I made a shape with clay, then cover it with resin. After the resin get dry, wet the clay and take them out. I have used resin for my work. I thought it would be a pretty simple project.
...However, there were thousands of walls that break my courage. It will be too long and too boring to blah blah explain what I had go throgh. So I won't. 
粘土で形を作り、樹脂を塗り、樹脂が固まったらもう一度粘土を柔らかくして型から外す。何度か作品作りでやったことがあるし、小さめの簡単なプロジェクト、の予定だったのに。やはり予定は未定、かくかくしかじか、やる気をくじかれてはもしかしてまだいけるかも、、、の繰り返し。


 Anyway, this is the hallway that connect our movie room to our master bed room/ Josh's studio space. Often when we are watching movie, he want to pause it, and run into the studio to write down his ideas before it fades. So I thought it would be nice to have a eureka moment light hare. After all light make every thing magical and beautiful. Finally I like it.
それはさておき、この廊下はジョッシュの作業場とムービールームを結ぶ廊下。よく映画を見ている途中に「いいこと思いついたから、ちょっと映画止めて。」と言い、いそいそとアイデアを書き留めに行く。そんな状況でもよく使う電気なのでユリイカランプがぴったしのところ。やっぱり光があるといろんな物がマジカルに見えて、いい!

Monday, September 9, 2013

Basement studio renovation

Initially, our plan was to build separate shed type building for our studio. Someday... but not for a while. 

元々の計画では住居スペースとは別に、ガレージのような作りに断熱材をつけた作業場を家の隣に立てる予定だったのですが、もちろん今の時点で予算オーバー。いつか、そのうちといいつつ、しばらくは無理なので、地下の作業場を手直しすることにしました。

But it's ok. I kind like my basement studio. However, its wall is just concrete. It is cool in a way, but I would like to put drawings and plans on the wall. Table I had was a plastic folding table. When I make something big, the table top bends. It couldn't even support table lamp. 
光がないのが難点ですが、地下の作業場もひんやりしていて悪くない。コンクリートの壁も、かっこいいとも言えるのですが、壁にものを貼ってもすぐに落ちてしまう。今まで使っていた折り畳めるテーブルはプラスチック製で、重いものを作っていると天板が沈んでしまうし、卓上ランプさえも支えられない様子。 

So I decided to renovate my studio. I want to make wall to be able to pin things. I need to make more steady work table. I need more shelves to put my on going works, and tools that still on the box on the floor. The wedging table has to be stronger.
まず、壁にものを貼れるようにしたい。それから、頑丈な作業台を作る。作りかけの作品を置けたり、未だ段ボールに入って床に平置きのもの達を片付けれるように棚がいる。そして最後に、今使っている土練り台の足をしっかりと作り替える。


 This should do it! Things are comfortably around me. I made the closest higher work bench with drawers next to wheel while back. Wheel is not in the photo, though. 
完成!ああ、物に囲まれるって落ち着く。一番手前の引き出し付きの背の高い作業台(ろくろは写ってないが、ろくろ台にもなる)はずいぶん前に作ったもの。


Sunday, August 25, 2013

Bed Room Deck

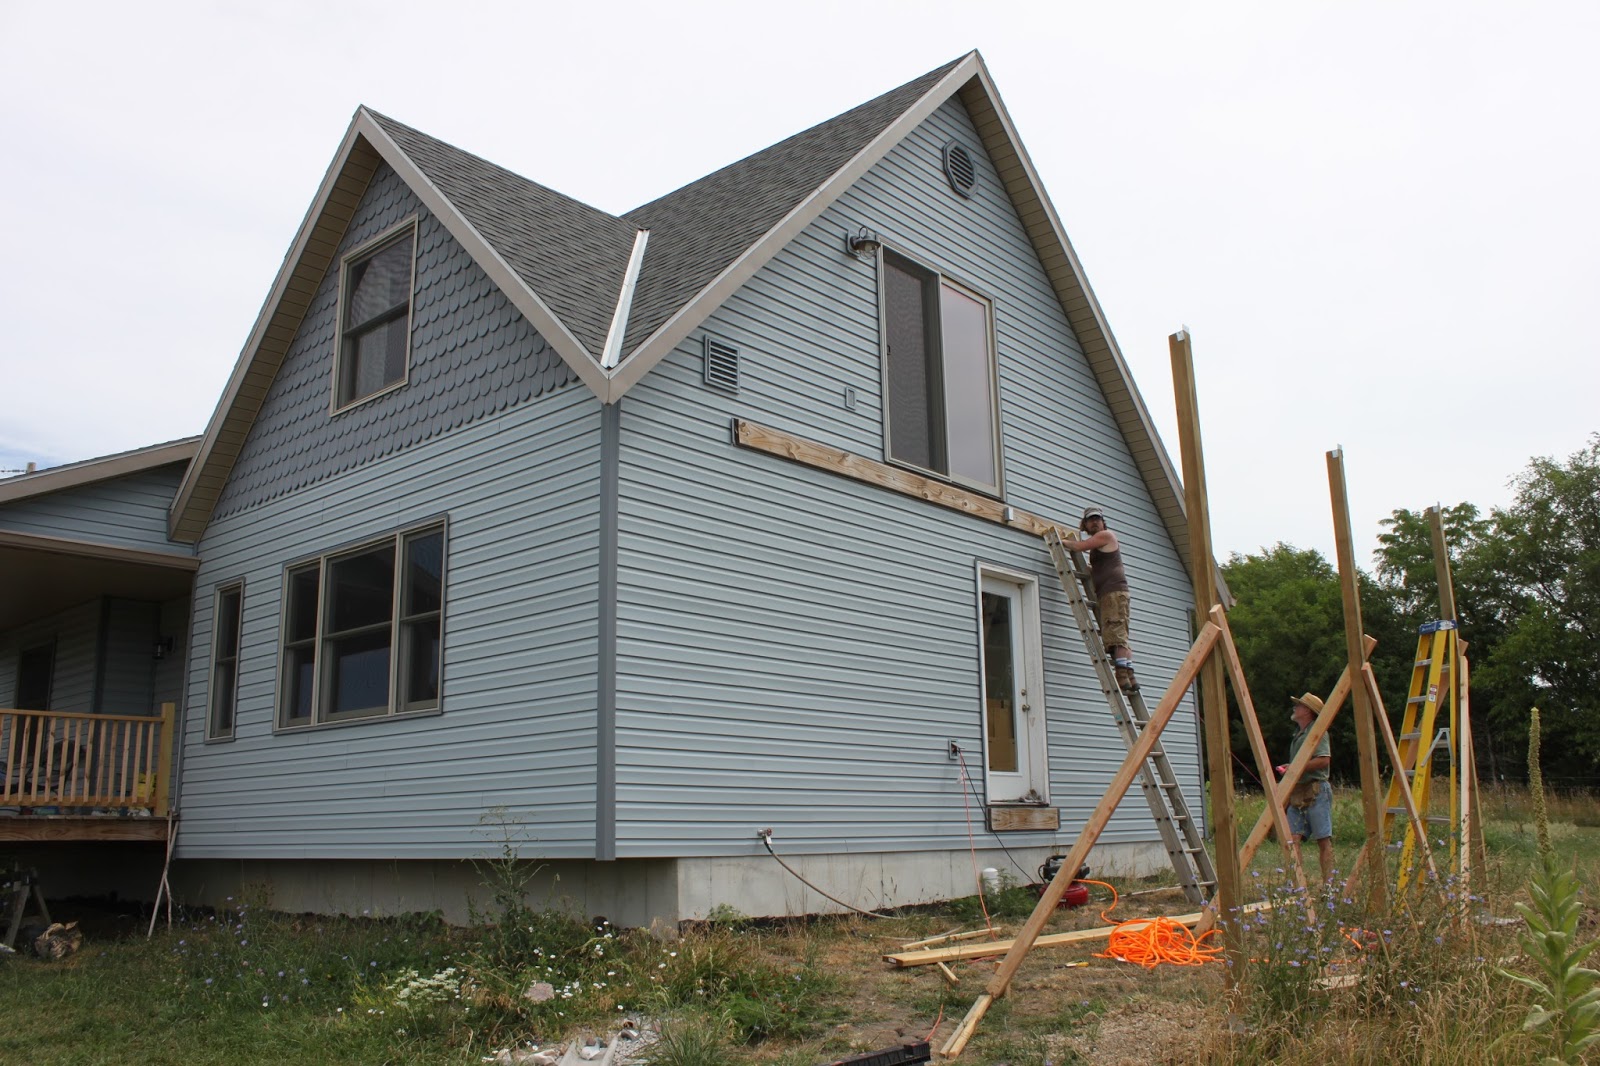
It has been a while since we decided to say our house is done enough for now. But we knew there are some places still need to finish. We wanted to have this deck where we can go out from our upstairs master bedroom. This summer, Bob decided to build this for us as Josh's birthday gift!
もうしばらくは大工仕事はいいでしょうと言い出してからしばらくたちますが、頭の底では、ここもあーして、あそこもこーして、そこはどーしよう、というところがまだまだ多々あります。二階の私たちの寝室から出れるデッキはそのうちのひとつ。この夏、ボブがジョッシュの誕生日プレゼントにデッキを作る!と言い出してくれました!
So Josh and Bob started to work on the deck. This time one of us has to baby sit. So I took that hard job to play with baby in air-conditioned room delightedly, instead of working outside under the sun climbing ladder.
という訳で、ジョッシュとボブはデッキ作りを始めました。今回は誰かがベビーシッターをしなければならないということで、喜んで名乗りを上げました。二人が太陽の下は死後の上り下りをしている間、私はエアコンの効いた部屋で赤ちゃんと遊ぶという大仕事。

Anyway, they dug holes for three 4 x 4 posts. Since we had bad drought last summer, the part of the ground where we dug out for the sewer system have big crack. We were worried the ground is not settled enough for building a deck. But luckily they dug till the holes reach to the original ground.
それはともかく、まずは4x4の柱三本用の穴を三つ掘るとことから始める。この辺りは去年の夏のひどい干ばつの影響で、まだ土がガチガチに乾き、ひび割れができている。家をたてたときの下水工事などで大きくほったところとの境は特に底の見えないビビが走っている。雨がなかったせいでデッキを建てるほど地面が落ち着いているか心配していたが、穴を掘っているうちに基盤になっている土が出てきたということなので、よかったよかった。

The joists will be attached to the side board that we had since we built this house. They need to make sure the height of the posts would be level to under the side board minus width of beam that comes on posts. Also these three posts need to be level, too. Then, they lean the ladder to the braced post itself, and cut to the height in the air! Please be careful!
床を支える小梁は家を建てたときに既に設置しておいた板に取り付ける。柱は横板の底から、柱の上に来る梁を差し引いた高さで水平に、また三本がそれぞれ水平にそろわないといけない。何度も測った後、支えをつけた柱にはしごを立てかけて上で切る。
After the joists, they brought some big boards up to work for floor boards. I wanted to see the view, so I went out on these construction boards that just attached with couple of nails. I can't believe I was one of the carpenter to built this house. I was freaked out from the height....
From this point to the finish, Bob did all by himself! After few rows of floor boards, he brought a table saw up. It helped things going fast. He made railing for this deck different from our front porch. Since it is so up high, he screwed vertical sticks in from inside. So nobody especially the little ones won't knock them off.
小梁の後、いくつか上ですわって作業をするために地下室に残してあった板を運んできた。デッキからの景色がどんななのか見たかったので、釘何本かでしか固定していないその渡し板の上を歩いてみる。この家を自分たちで建てたとは思えないほどビビる。
ここからはボブが一人で作業してくれました。何列か床板をはった後は丸鋸を持ってきて上での作業。その後はかどるはかどる。このデッキの柵は家の前のポーチとは違う付け方をしてくれました。ポーチは柵を外側に、釘で留めて行ったのですが、今回はかなりの高さで危険ということで、柵を内側にねじで留めてくれました。これで特に小さな子が柵を押し倒す、蹴り落とすということはできません!
Here is the view from  under neath. This 2x4 that attached angle prevent this deck from wobbling.
下からのアングル。斜めに取り付けた2x4でぐらぐらが解消されました。
We got our deck!! Great job, Bob. Thank you so much. Here is Koji enjoying deck on his 1st year birthday.
完成!さっすがボブ、ありがとうございます!虹児1歳の誕生日、デッキで満喫。


Sunday, March 3, 2013

front porch

So, this is my 2013 birthday present from Bob! The fence around our front porch, and safer steps with railing. We had  temporally steps with left over porch floor boards. The porch was a little high with nothing around. We started to get used to it, but when my grand mother came to visit us, she was so worried to come up the steps. Mail man doesn't want to come up the stairs either. So he bang our wall instead of ring the bell.

今年、2013年のボブからの誕生日プレゼントはポーチの柵と手摺付きの階段でした!今までの階段は屋内の階段用のジグザグ板の残りに、ポーチの床板の残りでできていた。少し高めのポーチに関わらず柵がなかったが、何となく私たちは慣れていた。おばあちゃん達が遊びにきてくれたときに手すりもなく、細い板に足をかけて上がるのはだいぶ怖かった様子。家にきてくれる郵便のおじさんも怖がって階段は上がらずインターフォンを鳴らすかわりに、家の壁をバンバンたたいて知らせてくれる。
After cleaned up the floor, look how nice it is! It's a baby proof. Our son can roll around and play here when it get warmer. Thank you Bob. I can't wait to play with him!

大工用具やらゴミやらをかたづけたら、なんとすてきなポーチ!暖かくなったら息子がここでごろんごろんしながら遊べるのが待ち遠しい。粋なプレゼントをありがとうボブ!


Tuesday, July 31, 2012

House Warming Party!


We have been building this house since June 6th last year. Finally we got to the point doing house warming party! Thank you all for joining us! We got maybe 30, 40 people came. We didn't know this house can hold that much people. Glad floor didn't fall off. I know some people asking me to take photos. But when I remember, it was after the storm. It always happen, sorry. So the photos I got here is kind of chill out party which was actually nice. 
去年の6/6からこの家を建て始め、ついに引っ越しパーティーをするに至りました!予想以上に3、40人ほど来てもらえました。ありがとう。この家にこんなに人が収まるとは思ってなかった。床も抜けずに無事終わりました。何人かに写真アップしてといわれていたのは片隅で覚えていたけれど、いざ行動に起こせたのは嵐が去った後。いつも通りシャッターチャンスは逃してしまった。ので、撮れた写真は人が減ってなんだかゆったりしているところ。
We had first time kids and dogs running around in this house. I see that's how kids play with stairs. They liked hung out in movie room. 
この家も初めて子供達と犬との洗礼に会いました。そういえば子供ってこうやって階段で遊ぶねんな〜。ムービールームに出たり入ったりなんだか楽しそうにばたばた走り回ってました。
We have been living in this house since January. But this house was still a lot more under construction, so we only had minimum stuffs we need just to live. But finally we brought boxes of things we had in Josh's parents' basement. Most of boxes were opened first time after the fire we had in Chicago. It was like opening christmas gift. We used to live in small apartment, and had only one book shelf. I know it was full, but in some reason it was only capable for maybe half of things. So we made another book shelf in hurry. It is also full now. To have our personal comfortable things around feels wonderful. Finally we feel like we got a house, even if we were here all the time. 
実際この家には1月から住んではいたものの、床板もなく工事中で、最小限の荷物しか持ってきていなかった。ついにジョッシュの実家の地下室に山積みになっていたほとんどのものをパーティー前の週末に運びました。ほとんどの箱はシカゴで巻き込まれた火事の後、あわててつめた後はじめて開けたので、クリスマスプレゼントをあけるみたいで楽しかった。なんでわざわざこんなもの詰めたんやろうというゴミもたくさんあったけど。以前は小さなアパートに住んでいて、本棚も一つしかなかった。それはぱんぱんだったってのは知ってたけど、とりあえずそこに全部収まってはいた。ところが、今回は本もおもちゃもあふれかえって、半分くらいしか箱を空けれない。ということで急遽もう一つ大きな本棚を作り、なんとかパーティーまでには箱を撤去できた。その本棚ももう既にパンパン。なんで?自分の好きな物、大事にしてるものが目の届くところにあるってなんて落ち着く。今までもここに住んでいたけれど、初めて自分たちの家に住んでいるという実感が出た。
 To celebrate us got a house to live not to build, I made a curtain for my window of the drawing Josh did for this house warming party. This bench will be a nice afternoon nap bench.
建てるためのではなく、住むための家ができたという区切れ目として、桃子窓のカーテンに、ジョッシュのドローイングを刺繍したカーテンを作った。西日を遮って心地いい昼寝の場所になった。


Thursday, July 19, 2012

Storage bench for my window

There is a small window in library/living room. This is known as Momoko's window. There was a opinion not to have this window because it is just make this room and house asymmetry. However, this is the reason I convinced to keep. I always wanted to have a nice bench that also you can lay down next to the window in full sunshine. 
リビングルームに桃子の窓として通っている小さな窓がある。デザイン的にバランスが崩れるのでこの窓をなしにしたら?という意見が何度かいろんな人と相談する上で持ちあがったのだが、私は頑として意見を曲げなかった。窓際にあるゴロゴロもできるベンチでひなたぼっこってのが夢だったんですもの。
 I made a frame with 2x4, and board around it. I also wanted to make it as a storage to hide my mess. So I made a space in the back and side in order to open the box even with the thick cushion.
フレームは残っていた2x4で作り、側面はベニヤでカバーした。私はがらくたがたくさんあるのでそれを隠せるような箱を作るというのも目的の一つ。ということで分厚いクッションでもふたを開けれるように左右と後ろにスペースを作った。
I used combination of  2x12 and 2x6 for the lid cushion just because there were left over from the construction. So it is kind a heavy, but not too bad than we imagined after I attached one side with hinges. Covered the big sponge with cotton fabric to ease the edge and make round corner first. Then cover it with the fabric. Finished up with the nice buttons I made from stones I found and beads. How fancy is that!  Our cats like this bench.
座面には1xの板を使いたかったのだが、結局残っていた2x12と2x6の組み合わせで作ることにした。なので座面自体はかなり重いのだが、一方を蝶番で本体に取り付けたところ、悪くない。まず大きなスポンジを布上の綿で包みスポンジの角をなくし、丸みを帯びたクッションにする。それから布でくるみ、周りには拾った石やビーズで作った鋲をつける。なんとファンシーな!ひなとウィンストンのお気に入りの場所になった。
Then I made back cushion with thiner sponge on the board. Then hooked to the screw on the wall studs. I will show you my mess only this time, just to show that there is a storage space underneath. 
背もたれは薄い目のクッションで同じように作り、間柱まで届く壁のねじに引っ掛けて固定。今回だけ中のごちゃごちゃには目をつぶって、こんな感じで開きます。


Wednesday, July 11, 2012

We got a movie theater!

 This room will be a baby room someday. But we decided to make it as we planed initially at least for a while, like the room all adults' dreamed(?) to have a movie theater in your house. This is the only carpeted room we have. And light is adjustable. We made a better shelf. Projector on the ceiling. However, we don't have any furnitures. Every night we bring our bedroom pillows and have a pajama party. It is also a adult game room.
この部屋はいつの日か赤ちゃんの部屋になってしまうのだが、とりあえずほんの少しの間だけでも計画してように、すべての大人達が夢見る映画館部屋として作った。この部屋がこのうち唯一の絨毯部屋。天井灯は暗さを調節でき、棚は作り付けのをよい板で、プロジェクターは天井から吊るした。しかしながらこの部屋には家具がいっさいない。毎晩枕を持ち込みゴロゴロしながらのパジャマパーティーをする部屋。大人のゲーム部屋でもある。

Sunday, July 1, 2012

Secret door for a secret room

When you go upstairs, top right side closet will be mine. We used to have this OSB rough board as a door to go little attic room. Actually it is mainly for upstairs furnace, and have little space for storage. If we want to make a little treasure room with cute christmas lights and mirror ball, we can. 
二階に上がって正面の右側が私のクローゼットです。建築のときの床板のあまりで簡易に作った合板のドアが以前は小さな屋根裏行きの入り口だった。まあ、屋根裏といっても二階の冷暖房を置くというのがメインの小さなスペース。でももしやる気になればクリスマスライトやミラーボールで飾った小さな宝物の部屋が作れます。やる気になれば。。。
 Anyway, I made a 16"deep shelf to close that entrance instead of ugly board. It have 4 casters on the bottom. So I can roll it in to the square. After I built up everything in nice simple shelf, I tried to push in. Didn't go in. This room have the roof angle that I didn't think about. I knew I can't just make things simple enough to success in first try...
とにかく、その汚らしい合板の代わりに、奥行き16インチの棚でその穴を閉じることにした。下には小さなキャスターが4つついていて、転がして入り口を閉じれるようにと作った。切ったそれぞれの板を全部組み立て終わり、いよいよ閉じようとしたところ、最後まで押せない。。。この小さな屋根裏は45度の屋根の傾斜がついていて、それを計算に入れてなかったので、角がつっかえて入らない。一階で成功できるほど単純な形ではうまく行かないってわかってたけどね。。。


So I had to cut the top shelf angle. And attached drywall to close the hole. It looks fancy since I use trim to hide the gap between wall and the shelf. After I push it in it become flat. Nobody think there is an another room. If somebody come here to rob us, I'm going to hide here. So I just wrote this to public, though.
ということで棚の一番上を斜めに切り落とす。で、石膏ボードを張り直す。クローゼットの壁と棚の間の隙間を隠すためにトリムをつけたのでやたらうまいこと見える。二度目で成功。全部押し込むと壁と一体化する。この奥にもう一つ部屋があるなんて誰も思いもしないはず。もし強盗に襲われたらこのパニックルームに逃げ込もう。と、ここに書き込んでしまった。


Sunday, June 24, 2012

Movie room floor

 This is the last room haven't had a floor. This will be a movie room at least for a while. So we planed to have a carpet. We were going to do this by ourselves, but realize need several specific tools and skill to make it nice and tight. So we asked somebody. He is a farmer, but do carpet as his side business. One day he showed up with all tools he need. Finally we can hide this cat pee, too. First he attached this spiky thing all around the wall.
このせめてしばらくはムービールームとして使う部屋が床のなかった最後の一部屋。ゆったり映画が見れるようにカーペットを自分たちで敷こうと予定していた。いろいろ話を聞くうちにきれいにピンとカーペットを張るには特別な道具と特別な技術がいることがわかったので、知り合いを雇うことにした。彼はジョッシュのおじさんの兄弟で、農業の傍らカーペット業をしている。畑仕事の合間を縫ってある日道具をそろえてきてくれました。これでようやくこの猫のおしっこの跡も隠せる。まず最初に壁にそって鳩よけのような棒にとげとげのついたものを設置。
 The form underneath, carpet over it.   I knew if I were doing this by myself I got so cranky moving this big carpet spending whole day. But he was calm doing his business.
スポンジを最初に式、その上にカーペットを広げる。もし自分でしていたらこの時点でこんなおっきい絨毯うまいこと広げれへんわ、とイライラして一日が終わっていたところ。彼は一人で黙々と作業していた。
 I miss the chance to see him using this little tool. When I realized he hooked the edge of the carpet on spiky thing he put along the wall, then put 2 x 4, and use this extended tool with lots of spike in the other side to make it tight. Then finished up the edges neatly. It was very quick job, within few hours. Now we have carpeted comfy room!
右側にある膝で蹴って使うこの小さめの道具を使う姿を見る機会は逃してしまったものの、後の作業はだいたい見れた。まず一辺を最初に設置したスパイクに引っ掛け、その上に2x4を置いてこののばした道具で固定。片方を2x4に突っ張り、もう片方のとげのいっぱいついた部分をカーペットに引っ掻けだんだんとのばしていく。最後は端を見たことのないナイフのような形をした道具できれいにして完成!数時間でできてしまった。これでカーペットふかふかの部屋ができました。


We got doors

When my families came to visit us, we got complain about no doors. I didn't really think about it since we were always us alone. But I can see they were hesitated to go to the bathroom that everybody can hear all sound you make. We are working on it. Now we got all doors for rooms. Josh and Bob put them in by spent just one day! They are getting better at carpenter work.
家族が遊びにきてくれたとき、扉がないことに皆さんからの不満が出ました。いつも二人でいるのであんまり気にしてなかったけど、人が多いとやっぱりトイレとかまる聞こえだと嫌か。ということで、部屋の扉の取り付け作業してますよ。ジョッシュとボブがたった一日で全部の部屋の扉を入れてくれました。なかなか手際が良くなってきている。
However, we got trapped by the work we did in the past... I wasn't even remember anymore, but apparently we didn't make right hight lough opening for the upstairs bathroom. I remember we were confused when we build this wall. The solution we took at the time was just to postpone fixing it. What a bad decision! So we had to cut off drywall and header now... It looks after disaster photo.... Eventually all worked out. We still need to do closet doors, though.
ところが、過去の仕事で足止めを食らうことに。。。私はもう既に忘れてしまっていたけれど、どうも2階のトイレのドア用のラフオープニングの高さを間違えて作っていたよう。この壁を作るとき、設計図通りに行かず、何度も間違えてやり直しをしたのは確かに覚えている。そのときと最終的に取った解決法は、後で直せばいいやん、だったよう。なんてこつ。ということで今更、丸鋸、ジグソーなどいろいろ道具を変えながら穴を大きくすることに。トルネードの後のような家の中。最終的にはなんとか全部はめ込みました。といってもまだクローゼットのドアが残ってるけど。。。

Sunday, May 27, 2012

We got a shower room

Finally we installed shower curtain for upstairs bathroom. So we can take quick shower instead of 30 minutes hot bath. Since one side of wall is angle we used wire cable for the curtain rod.
やっとこさ二階のお風呂場にシャワーカーテンを取り付けた。これで30分かかる湯船出のお風呂の代わりに早ければ5分ですむシャワーが使える。片方の壁が斜めなのでカーテンレールの代わりにワイヤーを使った。

Closets

 Now we are making shelves in closets. We have 6 closets I want to make shelves. This three are the ones a little complicated. The photo above is the kitchen closet. This closet have a light. So shortest shelf on top to get light.
ここのところクローゼットの棚作りをしている。棚をくみたいクローゼットは全部で6つ。写真の3つは少しややこしかったもの。上の写真は台所のクローゼット。電気がついているので上にいくほど奥行きを浅くして光が届くようにした。カンや瓶など重くなるので、重みに耐えれるように枠もしっかり作った。
 The photo above is first floor bathroom closet. This is the first one we built. We had lots of OSB left, So we used OSB, but it looks so rough. To hide the edge we used trim and left over floor boards, but still it looks rough..... After this we got better boards to make other shelves.
The photo below is the closet in upstairs next to the bathroom. This will be the place we store a vacuum cleaner.
上は一階お風呂場のクローゼット。これが最初に手がけたクローゼット。床に使った合板がたくさん残っていたので、そのときは合板を使うことにしていた。荒々しくてもっさい。合板の端を隠すために余っていたトリムを使ってみたり、ラミネートの床板のあまりを切って張ってみたものの、正直なところ見た目はかなり悪い。いつかボブに隠れて作り直すことにするかも。これでこりごり、ましな板を買ってきて他の棚は作ることにした。
下は二階のトイレの横のクローゼット。掃除機をしまいたかったので、掃除機がフィットするように作った。
Now we only have one more closet left, which is my closet. It have a little entrance to access upstairs heating system. I would like to make that door as a secret shelf door. It would be complicated for me, so I'm just waiting for me to be brave to start....
残るはあと一つ。最後は私のクローゼット。ここには二階の壁の裏にある冷暖房にアクセスするための入り口がある。今は板を立てかけてあるだけのこのドアを、棚で作った秘密のドアにする予定。私にはちとややこしいので、とりあえず何となく機が熟すのを待つことにする。

Finally we got gutter!

 The first time we contacted gutter guy was back in last winter. He told us gutter should be build when the weather is mild. So, we waited for a months, and contacted him again. He was still busy from the storm last fall. Then we waited for a while again to get the color we ordered. However once he started in the site, it went so quick.
初めて雨樋職人に連絡したのは去年の冬だった。雨樋はガチガチの冬を越してから取り付けた方が長持ちするという彼の言葉を元に今に至る。次に彼に連絡したのは春になってから。彼はまだ去年の嵐の修理で忙しいよう。鼻隠しの板とほぼ同じ色の雨樋を注文したものの、その色は製造してないとのことで、どこかの倉庫から探し出すと待つこと一ヶ月以上。ついに作業を始めてくれたと思ったらあっという間に出来上がってしまった。
 He came with tree clues with this truck. It was actually his workshop. Had a machine in the middle, and shelves on sides.
彼のほかに3人の若い作業員はこの小さなコンテナとともに来た。大きめの機械が真ん中に、両側に棚が作ってある。これはただにコンテナではなくれっきとした携帯作業場だった。
 They measure the longs, and shape it with the machine in the site. So you can get as long as you want with seamless.
雨樋の長さを測り、平らな鉄板の帯を機械に通してその場で作っていく。なので好きな長さを継ぎ目なしで作ることができる。